Doing The Races on a Budget? Try this DIY Fascinator

I adore The Races for fashionable reasons (American readers picture a week-long Kentucky Derby with Champagne instead of Mint Juleps) and look forward to getting dressed up for the racecourse (we don't call it 'the track' here, makes us feel more civilized).
This year I'm doing my fashion on a budget. I’ve already rented a dress online and I decided to make my own fascinator as well. The Milliners in this country are insanely talented (and expensive) someday when I’m a famous author/artist I will be able to afford to buy some of their incredible pieces.
Today I spent 50.00 at Spotlight (a craft store which does not hold a candle to JoAnn Fabric’s or Michaels but does the job) on fascinator supplies with some to spare after the finish.
They had a little millinery section which scared me a little bit- like, one feather costed around four dollars. They didn’t really have what I was looking for and it was all pretty basic (and overpriced) - until I finally found a neutral base attached to a headband- I didn’t want to mess with making one of those my first time around. My skill level right now= glue gun.
My advice: Stay far, far away from the ‘millinery’ area where the odds are worse (wink wink) and get creative with the other craft supplies you can find.
Onto the fake flowers section where I bought some white roses and two big lavender colored flowers. This hat is going to go with my Derby Day outfit where traditional dress code is black and white. I wanted to pull the white from my dress, the purple from my hair (yes, I have purple hair because I’m a rock’n’roll Mom) with some neutrals and black accents.
In the craft section I bought a bag of black and white feathers for eight bucks and I have plenty extra. Bargain.
When I got home, true to form, I didn’t really have a plan so I just went for it. The end result was really cute and I think it will look perfect with my outfit. This was so much fun I can definitely see myself making more…anyone want one? Lemme know.

What you need
- A base and headband or clip combo
- Fake Flowers
- Feathers
- Glue Gun
- Scissors

1. Try on your headband/ hat/ base and decide in which position you will wear it. Make sure to take note of which will become the front, back and side view.
2. Start to play. Put a few flowers together, decide which area will be the highest and which will be the lowest or just glue a flower on as a jumping-off point.
Tip: The fake flowers should pull right off the stems easily. Trim any excess plastic or leaves with scissors.
 |
| Cut the crap- it will give you a flatter base to work with. |
3. Before you add another element make sure to see how it’s looking as a whole and how it looks on your head.
Tip: Grab a little mirror to put in front of your workstation so you can occasionally check out your hat as you add to it. I think it should look nice from all angles- not just from the front or side.
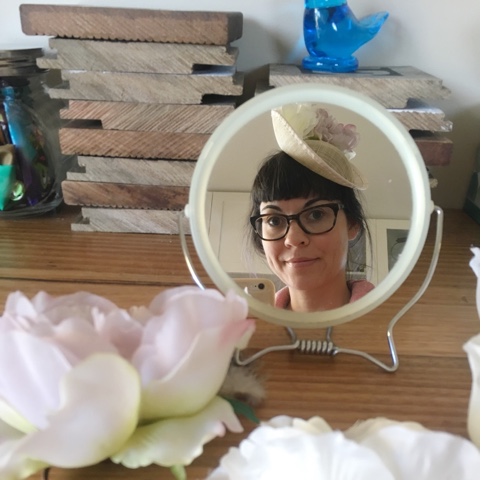 |
| Why hello, Craft Nerd. |
4. Once all the flowers are in place and you are happy with them, start thinking about where you want your feathers to go. Stick them in- without gluing them to get a better idea of the configuration you like. Don’t be afraid to cut the feathers.
Tip: Less is more, or more is more it’s totally up to you. If you remember one thing about the races it’s that you can’t be too over the top!
5. Glue the feathers in one at a time, either to the base or to the petals of your flowers.
 |
| Thought I was finished at this point, but it was begging for some black feathers. |
6. Cross the finish line!
Lesson Learned For Next time: I would probably try and position the little base differently and buy a sturdier headband- so maybe I’ll try to make one myself. Also I might play around a little with different configurations of flowers- I made it work with this one but I could have done things a little differently.
The total cost of materials used was easily less than 40.00 and considering the long odds with my novice skill set I'm more than pleased with the standings (just a few more racing puns then I'll stop, promise).
Lesson Learned For Next time: I would probably try and position the little base differently and buy a sturdier headband- so maybe I’ll try to make one myself. Also I might play around a little with different configurations of flowers- I made it work with this one but I could have done things a little differently.
 |
| The final result |
I’d bet money $ that you’ll look and feel amazing in your unique piece of wearable art!
Good luck, punters. x
posted by Unknown @ 5:32 PM
2 Comments
![]()
![]()

2 Comments:
Looks FABULOUS! Another tip for young players is to scout Lovisa, Diva, even Target for their hairpieces that are on sale and take them apart and mash them up together. It ends up heaps cheaper than Spotlight.
That is such a great idea! x
Post a Comment
Subscribe to Post Comments [Atom]
<< Home